Variable product
-
A variable product offers multiple options for a product like size and color. To add a variable product select the option from the drop-down, then add the attributes that you want to vary for each product. Let's add the first attribute is size. Like you have two product sizes medium and large, so you'll type them in the values section separated by a vertical bar. select the user for variations option and click on the save attribute.
-
Now, let's see you'll add another attribute say color, you'll add the available color values, select the user for variations option and click on save attributes. In the variations section, you can create the product variations using the attributes that you previously entered.
-
Select create variations from all attributes from the drop-down and click go, you can see all the possible product variations there medium red, medium blue, large red, and large blue.
-
You can now click on the triangle icon there to set the picture, price, and other options. For each of those variations. You'll also set a default variation that buyers will see first. You'll click publish to send the variable product to the live store page shoppers can now select different variations of your product.
Grouped product
-
Now let's create a Grouped product. This product type groups different versions of the same product under the same title. To create a grouped product click on add new under the products tab and make a parent product like a smartphone then select the grouped product from the drop-down. Once done click publish this is how it will appear on your shop page.
-
Now you need to create the child products. You'll add a new product and name it six gigabytes ram then set a price in the sidebar. Set the product's catalog visibility to hidden so that it doesn't appear as a separate product on its own. Finally, publish it. Similarly, create an 8 gigabytes ram version with its price. Set hidden catalog visibility and publish it as well.
-
Now you'll go back to the products list click on edit below the grouped product scroll down and switch to the linked products tab then click there and add the newly created child products by searching for them. When you update the page and see how it will appear to the shoppers. They can then select the one they want and add it to their cart.
Affiliate product
-
The final product type is the Affiliate product. With this, you can earn commissions by referring your shoppers to other people's products. You can add the product's title there then add its link there and type the button text. The product will be published and lead your shoppers directly to the product page.
-
To add more products you can click on add new to add products one by one or click on import. To import them in bulk choose your product CSV file and let WooCommerce automatically map CSV fields. Finally, click on run the importer and wait for the products to be imported. As you can see all our products will automatically be added to the products list. If you go to the shop page on our website you'll see that the products have also been added automatically.
Build WooCommerce Page
-
To start building a page you can hover over the pages tab and click on add new. You can see the WordPress default block builder. You can start by adding your title then follow it up by some text for a fresh paragraph press enter and keep typing.
-
To add an image you can hit enter and click on the plus icon, choose the image block then click on upload image and select it from your folder. Similarly, you can add other types of blocks like paragraphs, headings, galleries, lists, and quotes.
-
But building every single page and posting on your website this way requires a lot of time, effort, and some design knowledge as well. So it's a much better option to import pre-built templates and edit them according to your needs to do it.
-
Now let's go back to your WordPress backend. Now hover over the appearance tab and click on themes. Click on the add new button to add a new theme in the search bar in the top right corner, search whatever you want and hover over the first one, and click install then activate it to choose a template. Click get started.
-
You'll choose the element or page builder as it's the easiest one to use. You can now see more than 100 pre-built website designs, you can use what you want. It's up to you.
-
Now to publish these changes to the live website click on the update button down there. While editing you'll notice that you can't edit the header and footer section of your website in elementor.
-
Now click on the customize button up there to change the website logo. Click on the edit icon next to it then click on the change image button and upload your logo. You can resize the logo too.
-
Now go back to the customization panel using the back button. Click on menus and open the main menu, with these settings you can rename, replace and rearrange the header part of your website. The customization panel also lets you customize your website's footer sidebar and widgets. When you're done click publish to see the changes reflected on the live site.
-
Now that's how you edit the existing pages of your website, but what if you wanted to add a completely new one to do it you need to go back to your website's backend.
-
Now there hover over the pages tab and click on add new. Let's give your new page a title, then click on edit with elementor to build it using the elementor blocks. Now there are three ways to create a new page: the first is to drag and drop the blocks that you need from that section.
-
Let's add a heading by dragging the block then you can type its content directly on the page to add an image you'll use that block then click on choose image to replace that with your own image. This way you can build a page block by block from scratch.
-
Now the second method is to use designed templates for pages. Click on the icon. you see a library of page templates for various uses. Use the search bar to narrow down your results then choose one and click on the insert button up there. You'll get a prompt to connect your website to the elementor template library.
-
Click on get started then click on create an account and supply an email and a password. Click on create an account when you click on connect, your selected template is imported to your page.
-
In the third and final method let's use pages from other design templates. Click on the icon then click on a design template. Now you can see the page templates, click on the one you like, and select the import template at the top. The template is applied to our page, click on publish to push the changes to the live website.
With all these settings and set up your fully functioning WooCommerce website is ready to welcome shoppers from anywhere in the world. You can of course add many more functionalities to your eCommerce store using plugins from marketplaces like the WooCommerce marketplace.
Now you can use our Interactive and user-friendly WordPress theme. Which are the following:
KiviCare - Medical Clinic & Patient Management WordPress Theme

What is KiviCare?
KiviCare is the first-of-kind theme with a fully functional clinic management solution built into it. You get a complete Appointment booking engine, Patient records, Medical history, and much more. KiviCare is packed with fully customizable Elementor widgets. Our ultimate Clinic Management WordPress Theme is powerful & functional. It would save you 1000+ Hours and dollars for setting up software for your clinic. Its 200+ Theme Options allow crafting almost any imaginable design.
Niche Homepages

-
Clinic Management
-
Dental Clinic
-
Eye Care Clinic
-
Skincare Clinic
-
Fertility Clinic
-
ENT Clinic
Pages

The main feature of clinic management software
-
Hassle-free 24×7 appointment bookings
-
Maintain patient records
-
Maintain medical history
-
Manage all encounters and process them
-
Add holidays and important events and notices
-
Provide customizable templates for clinic and patient management
-
Super Admin can view complete activity log for all doctors
-
Super admin can create doctors, patients, and other users
-
Keeping track of appointments
-
Manage day-to-day encounters
-
Create and check invoices/encounters
-
Check on the status of clinic session changes
You can find more about this KiviCare - EcoSystem
SofBox - Tech and SaaS Multipurpose Software Landing Page
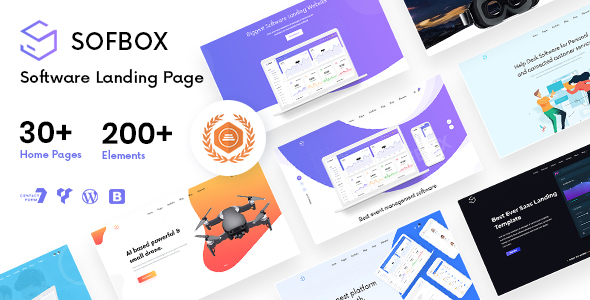
Sofbox’s harmonious design and super clean looks will make your website look beautiful and elegant. Tech and SaaS Multipurpose Software Landing Page work seamlessly on all major web browsers, tablets, and phones. Just replace the content and your WebApp images and you are ready to go. Simply choose the layout that suits your needs, customize the sections, headers, sliders, colors, choose from pre-made useful elements. Every page is fully responsive and retina-ready, making your creation look good on any device.
Template Features:
-
5 main homepage layout
-
3 video layout
-
3 particles layout
-
3 main gradient homepage layout
-
3 gradient particles layout
-
3 gradient video layout
-
woocommerce
-
3+ Header style
-
Clean Code
-
Easy To Customize
-
Unique, Clean, and Modern Design
-
Fully Responsive
-
Cross Browser Optimization
-
Free google font and icon used
-
And much more….
The Awards that SofBox got:
-
“Theme of the Day”
-
“BestCSS”
-
“CSSReel”
-
“Web Guru Awards”
-
“TopCSSGallery”
EnerZee - Renewable Energy WordPress Theme

Enerzee - Renewable Energy WordPress Theme comes with amazing customization features. With full creative control over its appearance, Enerzee offers various options to create your website. Besides the customization tool, Enerzee can be used to create an interactive website. The effects used in this WordPress theme can give an impressive look to your brand. Their eye-catching homepage banner, multiple sections and attractive about us page make Enerzee one of the most sorted after WordPress themes. The testimonial slider, portfolio, and team help promote your promising agency.
Each page is fully responsive and retina-ready, making your creation look good on any device.
Main Features:
-
Creative and Modern Design
-
The powerful Theme Options panel
-
Fully Responsive
-
Retina Ready
-
One-Click Demo Import
-
Elementor Page Builder Included
-
Highly Customizable
-
Simple One-Click Import of Demo Content
-
Slider Revolution Responsive WordPress Plugin ($26 value)
-
No coding knowledge required
-
HTML5 & CSS3 Validated
-
Google Fonts Included
-
Customizable Contact Forms with Contact Form 7 support
-
Custom Build Theme & Page Options
-
Browser Compatibility
-
Clean Code
-
Sticky Navigation
-
XML File with Demo Content
-
Big custom shortcode collection
-
5 Homepage examples
-
5 Footer layouts
-
Masonry Portfolio List
-
Portfolio Project Info shortcode
-
Portfolio Slider shortcode
-
Parallax sections
-
Mega Menu
-
Powered by Redux framework, bring to you unlimited color and Google fonts options
-
Customizable Google Maps
-
Blog List widget
-
Translation ready
-
WPML Plugin compatible
-
And so Much More…

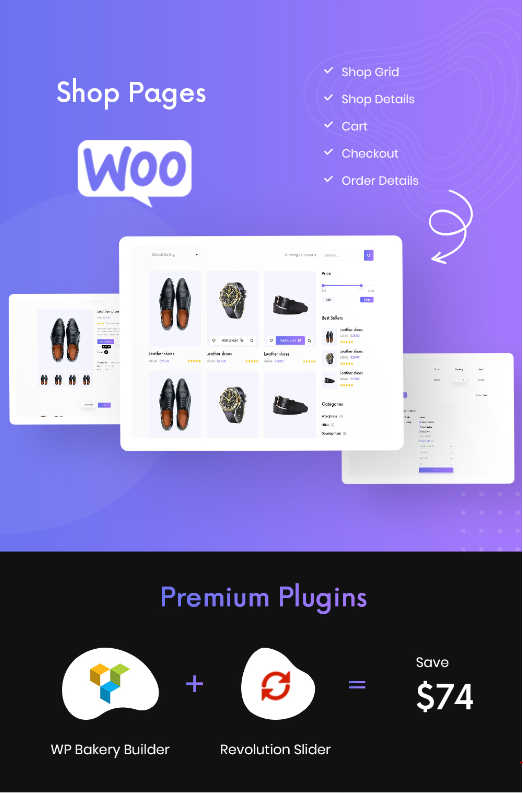
Foodsto - Grocery and Food Store WordPress Theme
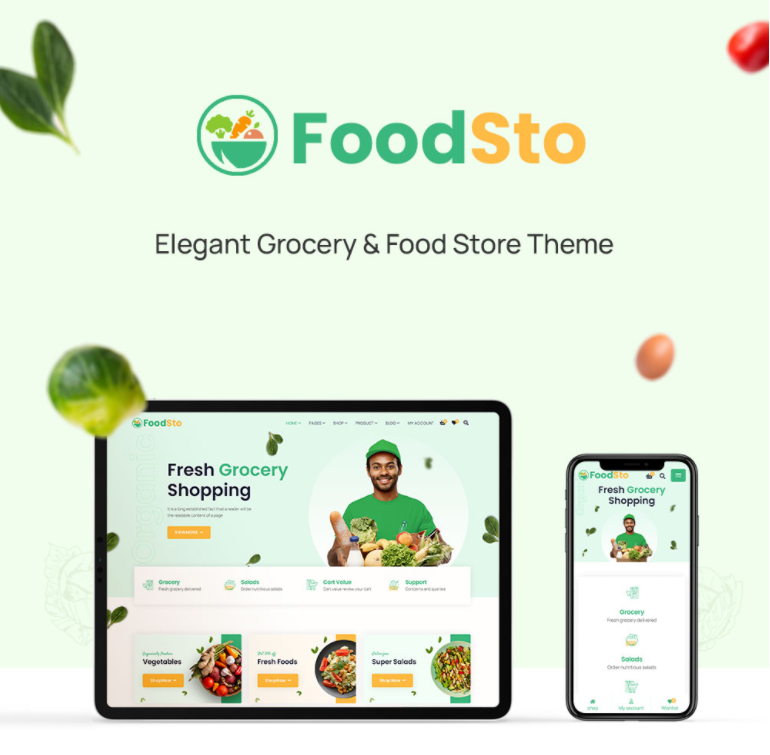
Foodsto - Grocery and Food Store WordPress Theme is a perfect theme if you are willing to create a personal online food store. It is ideal for organic food and Fresh farm vegetables store websites projects. With a clean, minimal, and fresh design your website will look great on all devices. Start your simple food store website easily and start selling online without any hassle.
You get Modern Shop Layout, Store Functionalities, Wishlist, Quickview, Cart view, fresh style. A perfect theme for simple Food Stores and Markets, Organic Producers and Farms, Vegetable stores, Grocery Store and so on.
Benefits You will get from FoodSto:
With our exceptionally professional support, you get Foodsto bundled with all benefits for a developer. You can personalize your website experience with a powerful theme options panel. You can build your unique online store flawlessly. The Elementor plugin allows you to create pages in the least time allowing you to create your online store easier, faster, and better.

Main Features:
-
Creative and Modern Design
-
The powerful Theme Options panel
-
Fully Responsive
-
Retina Ready
-
One-Click Demo Import
-
Elementor Page Builder Included
-
Easily Customizable
-
Slider Revolution Responsive WordPress Plugin
-
No coding knowledge required
-
HTML5 & CSS3 Validated
-
Google Fonts Included
-
800+ Google Fonts
-
Custom Build Theme & Page Options
-
Browser Compatibility
-
Clean Code
-
Sticky Navigation
-
XML File with Demo Content
-
Awesome Custom elements collection
-
Powered by Redux framework, bring to you unlimited color and Google fonts options
-
And so Much More…
Subscribe to our newsletter for exclusive discounts, special previews, introductory sale,s and industry insights to turn your website into a stunning and successful website with a competitive-edge.
Admin
Admin